Wednesday, February 26, 2020

Printmaking: Drypool Bridge (1) and (2)

Printmaking: Drypool Bridge (1) and (2)


Drypool Bridge (1)
 
Etching, nitric acid on zinc with aquatint
 
 
Drypool Bridge (2)
 
Etching, copper sulphate on aluminium with aquatint
 
Introduction

I decided that it would be a good idea to make some prints on the same subject matter as my paintings. Doing so will give me the opportunity to really get to know my subject better. I can look at the compositions from different angles and the printmaking side of my practice will help inform my painting and vice versa.

Drypool Bridge was a good place to start.

Methodology

Drypool Bridge (1)

I took a small piece of zinc and decided to make a print from a similar viewpoint as my painting. This process helped both in getting to know the subject matter better and with the conceptualisation of the painting.

As the structure of the bridge necessitates the use of a lot of straight lines, I used a ruler to guide me. However, the use of the ruler created a number of scratches on the surface of the hard ground medium which then etched into the plate. I learnt from this, either to not use a ruler, to be more careful in the use of a ruler, or to buy a cork-backed ruler, which a fellow artist recommended to me.

In spite of the scratches, the print came out quite well and I can live with the outcome.
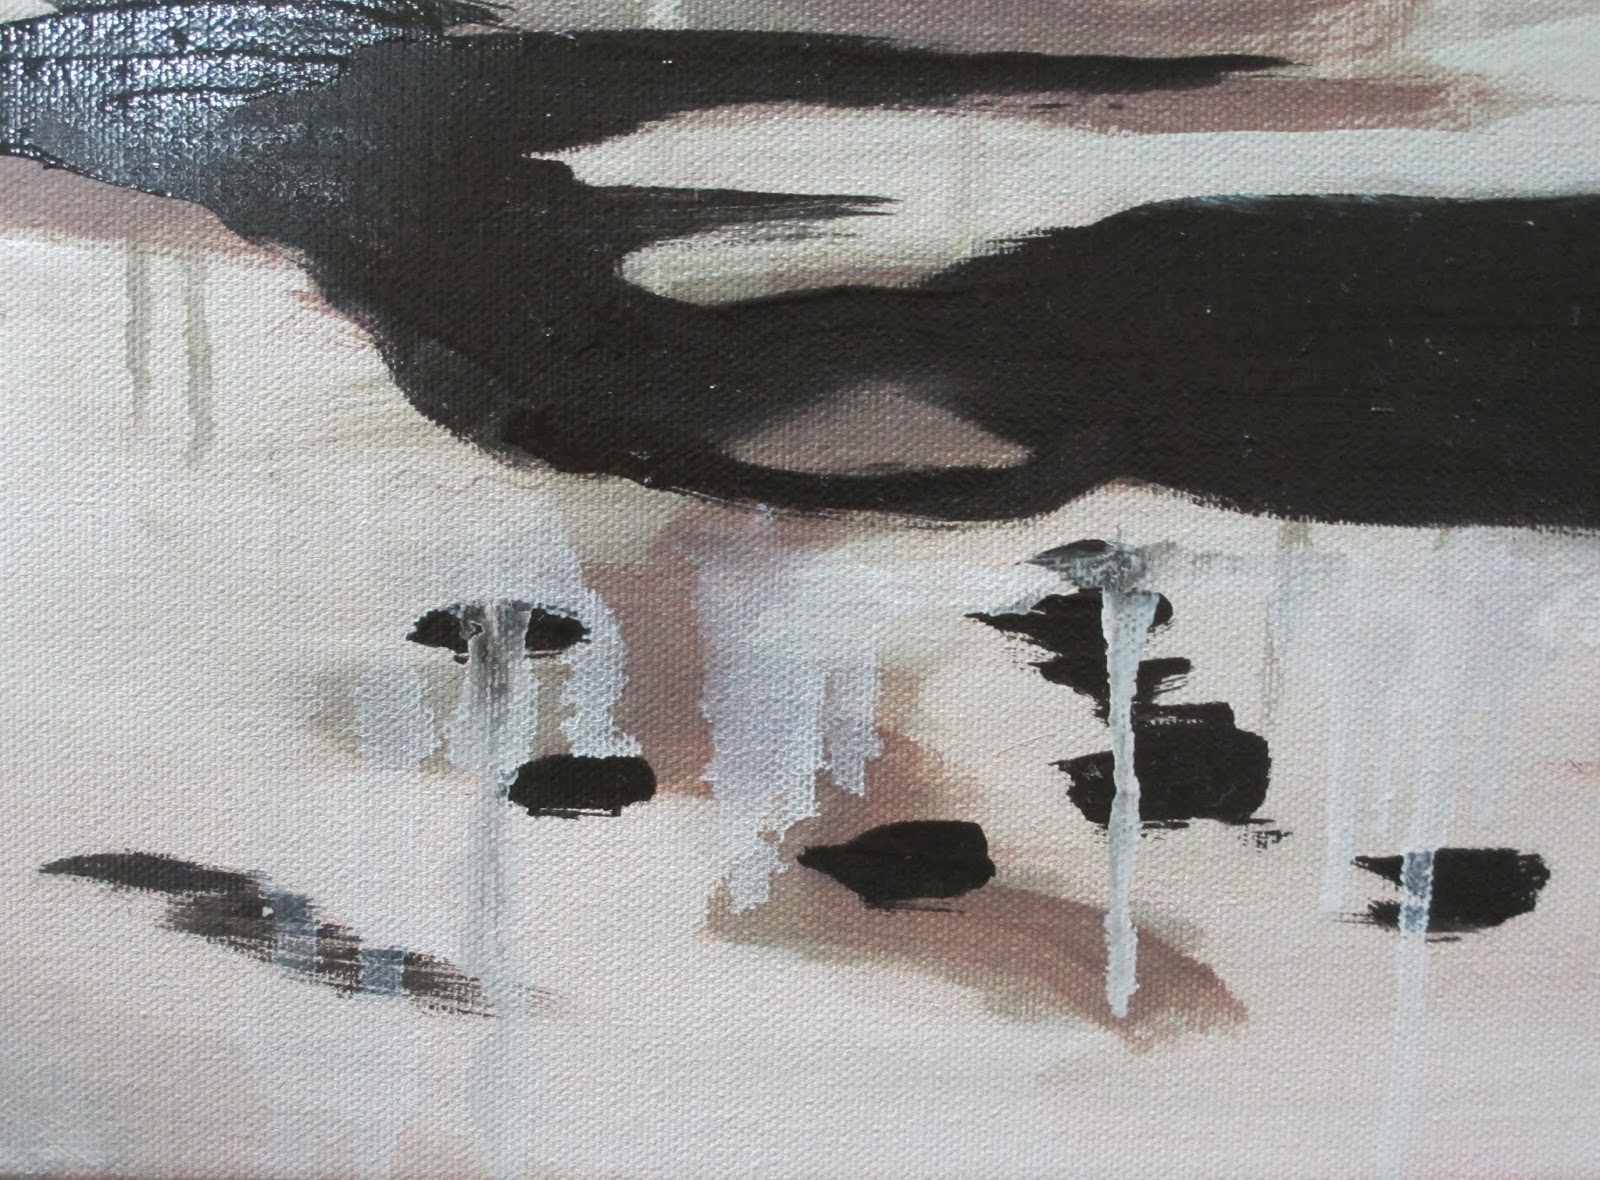
Drypool Bridge (2)

This time I used a larger (A4) piece of aluminium to create a similar image, but from a different viewpoint.

I used a soft ground and etched the plate with copper sulphate.

The results were most disappointing. The plate was in the copper sulphate for a very long time, but did not etch well at all. The proof print resulted in just a series of deeply etched dots and the image could scarcely be made out.

To try and rescue something from the print, I then put an aquatint onto the plate and painted stop out varnish where the image was missing and etched it again in stages.

At the inking stage I really had to press hard to get the ink into all of the deeply etched dots (otherwise it resulted in a series of white dots where the ink had failed to penetrate).

Despite the initial failure, the aquatint saved the situation from disaster and the final print has a lot of atmosphere.

Overview

The general idea of making prints of similar themes and images as my painting is a good one. It enables me to really explore and get to know the topic better, sometimes from different view points.

I learnt to be careful with the use of a ruler and how to deal with the situation in the future (cork-backed ruler if use is necessary).

The problem with the etching of the second print and the use of the copper sulphate remains a mystery. I have not encountered this problem before. It was suggested to me that the cause may have been the temperature of the copper sulphate solution (too cold).

The problem has made me hesitant to use aluminium and copper sulphate again in the near future and I will probably concentrate on zinc and nitric acid which is less temperamental.

Painting: Drypool Bridge

Painting: Drypool Bridge


Introduction

Over the previous few weeks I have been working on a large-scale painting of Drypool Bridge at low tide on a dark January morning.

I wanted to continue my experiments with painting on large canvases, which have increased in size to 3 feet by 4 feet.

Working on such a large scale is a challenge conceptually and physically.

Working Methods

I started by covering the canvas with a burnt umber/ yellow ochre wash. I felt that this would form a good base for the cold January morning image.

I sketched out an initial first sketch, to place the main features into position.

 
Initial first sketch
 
I felt that it was important to achieve a "layered" effect to gain depth to the picture, and started by blocking in the buildings in the distance so that they could recede.
 

I realised that one of the main challenges would be to correctly interpret the structure of the bridge and its engineering. I researched the background to this type of bridge. A bascule bridge (sometimes referred to as a drawbridge or a lifting bridge) is a moveable bridge with a counterweight that continuously balances a span, or "leaf", throughout its upward swing to provide clearance for boat traffic. It may be single- or double-leafed. Drypool Bridge is a "Scherzer" lifting bridge, which is a type of rolling bascule bridge. The mechanism is clearly visible in my painting.
 
 At my first attempt at sketching the bridge I got the number of "V" shaped elements wrong and had to wipe them out and start again.
 
 
Second stage (bridge structure corrected)
 
 
Third stage (railings and tone added)
 
As the painting progressed I added the railings to the bridge, which gave the composition another dimension. I felt that the railings increased the feeling of recession and layers. I also darkened the tone of the water and added painting medium to help portray the shiny effect of the water in the low morning sun. I aimed to ensure that the shapes on the water surface reflected the nature of the water at low tide and painted some loosely applied drip effects which I let run down the canvas.
 
 At the final stage I added detail to the wooden staging underneath the bridge and some shadows to the grass behind the posts and twigs in the foreground.
 
 
Final painting
 
Detail:
 
 
Bridge structure


Water shapes and drips
 
 
Wintery twigs
 
 
Waterside grass and shadows
 
 
Depth to wooden structures beneath bridge
 
Overview
 
I think that the finished painting has a lot of character and emotion.
 
The colours are subdued and reflect the daylight and time of year. The recession works well with the number of layers created within the composition. The paint handling uses a number of different approaches -  for example, tight control over the engineering structure of the bridge, loosely applied paint for the water, sometimes in drips, and painting medium for the water and to depict the depth to wooden structures.
 
My main influences remains Sheeler (structures), Raedecker (unfinished look and restricted palette) and Doig (for paint handling).
 
I learned a lot from this painting. Next time I will experiment more with negative space as in this instance it was mainly restricted to the sky. Also, I will think carefully about layering to gain depth to any new composition and I will study carefully the abstract shapes of objects to achieve greater definition.