Introduction
Last month I attended a Workshop on Screen Printing with artist Alison Stack. My aim was to increase my confidence using this medium and to learn new skills and techniques. My previous research has highlighted that screen printing provides the opportunity to produce prints which I can enhance with coloured images and backgrounds. Also, screen printing provides opportunities to make monoprints i.e. "one-offs" and series of prints using stencils and other methods. This workshop concentrated on the stencil method of screen printing and working with drawing fluid and other mediums.
Materials and Equipment
The workshop was very informative in that the instructor, Alison Stack, provided information and examples of the equipment required, including:
- aluminium screen printing frames, which are better than wooden ones as they do not warp
- white mesh for ordinary purposes, but yellow/orange mesh for photo-printing
- a mesh size of 55T is suitable for general purposes ( a wider mesh is required for fabric and a finer mesh for photo emulsion work)
- a wooden printing base fitted with butterfly clips/clamps screwed onto the board
- a plastic sheet (acetate) can be attached to keep the board clean (or to do a trial test)
- acrylic "Speedball" inks (for fabrics or otherwise)
- can "refresh" old inks with Glycerin/Glycerol
- acrylic screen filler (for mixing with acrylic inks at the ratio 1/3rd ink to 2/3rds filler)
- i.e."System 3" Acrylic printing medium or "Speedball" screen printing transparent base.
- squeegee of a size which must fit within the screen
- screen filler remover for cleaning (or use plain water)
- screen printing paper no thicker than 300 grm (ordinary printing paper for etching etc. ok)
- smoother paper required for detailed work
- a frame may be purchased to keep the screen firm whilst in use

The screen attached to board with butterfly clips

A frame to clamp the screen firm whilst printing

An example of a printing medium
Stencils
- do everything "clean" first
- then do the printing process
- use greaseproof-type paper for the stencil
- trace image onto the paper
- take a craft and cut the image out of the paper
- tape the stencil onto the mesh on the outside of the screen (the flat side)

The drawn image and cut out stencil

The stencil attached to the screen
- with this method the image when produced is not "reversed"
- turn screen over and check what you see
- the deep part of the screen is called the "well"
- tape can be used to block off parts of the screen, or the greaseproof paper can be made the exact size of the screen so all parts (except the stencil image )are blocked off
- leave at least 1 inch around the inside of the well for the image - do not let the image go right up to the edge of the screen's frame
- screw clamps down onto the screen
- attach acetate onto wooden base to keep the board clean
- lift screen up and prop up (after every print)
- pour ink out at the top of screen

ink applied with screen lifted ready for flooding the screen

paper placed under the screen

acetate attached to keep the board clean
- put paper underneath and line it up by the eye
- put screen down on paper (flat)
- pass squeegee down the well of the screen at 45% (the "pass" can be once or more than once)
- lift up the screen and take the paper out

series of prints

finished print
- push the ink back up to the top of the screen again with the squeegee
- if run out of ink reflood the screen
- at the end of the process save the ink
- clean up straight away and do not let the screen dry out
- cover the ink with tape or cling film
- clean screen with plain water (better) or a little Fairy Liquid
I used an image of a hoopoe bird for my stencil, as it has a very distinctive silhouette.
Drawing
Using "Speedball" Drawing Fluid/other mediums
- put picture or a stencil underneath the screen (flat side up) to draw from
- draw with "printing medium"
- use a different screen for different colours or can block out the colour done first with screen filler
- let the drawn image dry
- cover the whole of the outside of the screen with screen filler (a blocker) and let dry
- spray with water to remove the drawing fluid
- print as before
- can use "Speedclean" - good with brush and water
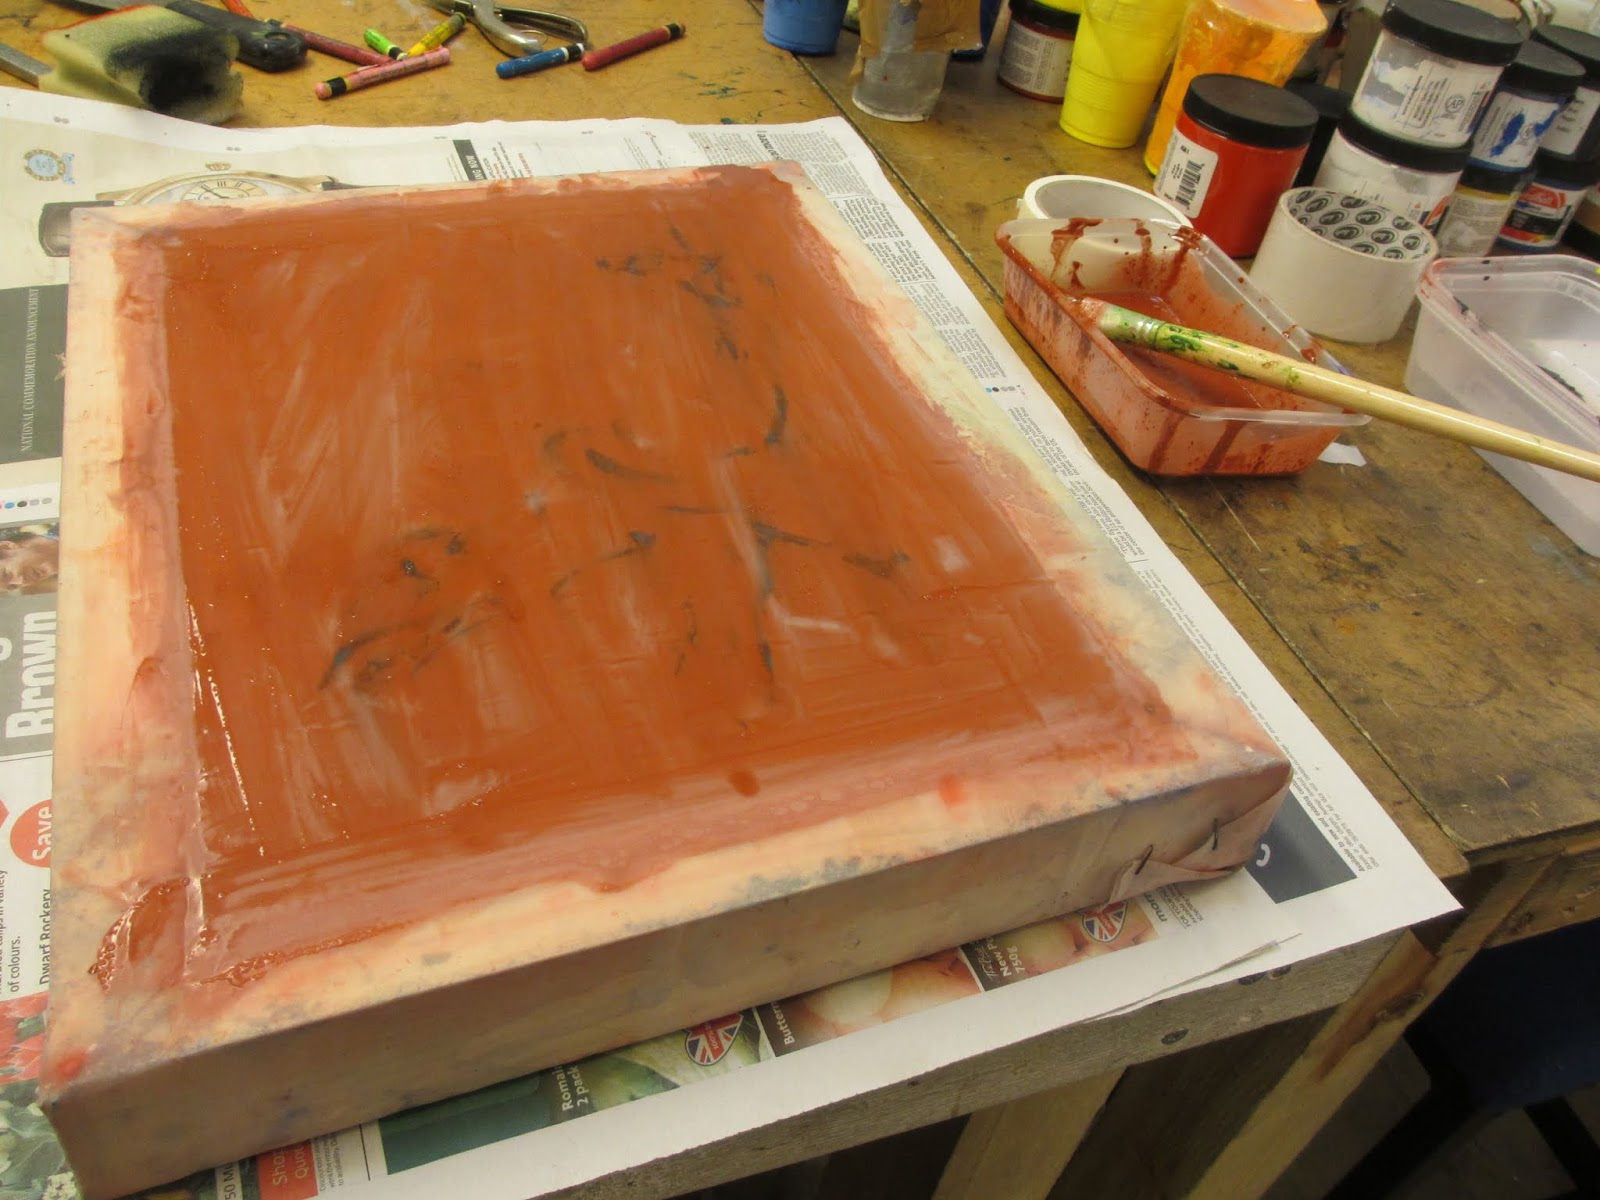
- can use soluble painting crayons with screen filler over the top
- can draw with graphite or with water soluble printing crayons (on top/flat surface of screen)

Application of drawing fluid

Detail
Exterior covered with screen filler

Use of soluble painting crayons
Conclusions
The stencil print is clear and the method used was relatively straight forward as set out above. I think that this method could be used in circumstances where I want to create a strong image, perhaps with another print underneath.
The drawing method is more fluid and deserves further experimentation as due to time limits it was not possible to explore all possibilities using this way of working.
No comments:
Post a Comment